Advertisements
Learning to use environmental cues gives you confidence when your mobile phone fails. Read The sky, vegetation, and water give you back independence and precision.
In this text you will see the practical difference between finding your way and knowing where you are going. You will understand how shadows, wind, and rivers offer clear clues to avoid walking in circles.
Combining natural methods with classic tools, such as a compass and printed maps, increases your confidence in the field. Stay calm Improve your spatial memory and reduce panic.
In the end, you'll have a practical roadmap to get started: proven techniques, the limitations of each method, and short exercises to solidify your skills. You'll begin training your observation skills from your very first outing.
Why learn to orient yourself today: intention, benefits and current context
Developing your spatial awareness today keeps you safe when technology fails. Reliance on GPS It reduces the practice of useful skills. If you lose coverage or battery, you lose immediate reference.
Practicing landscape reading gives you autonomy and less anxiety. It improves your awareness of your surroundings and helps you make better decisions in adverse weather or dense vegetation.
There is cognitive evidence: the hippocampusThis skill, key to navigation, strengthens with continuous use. London taxi drivers show brain changes from practicing complex routes.
- Plan and validate with cross-methods for greater safety.
- Put technology aside for a while to create solid mind maps.
- Use urban and rural landmarks (towers, lines, domes) as visual anchors.
Staying calm improves spatial performance; anxiety consumes cognitive resources.
Start in familiar places and progress gradually. This routine will give you the confidence to move with sound judgment in any environment.
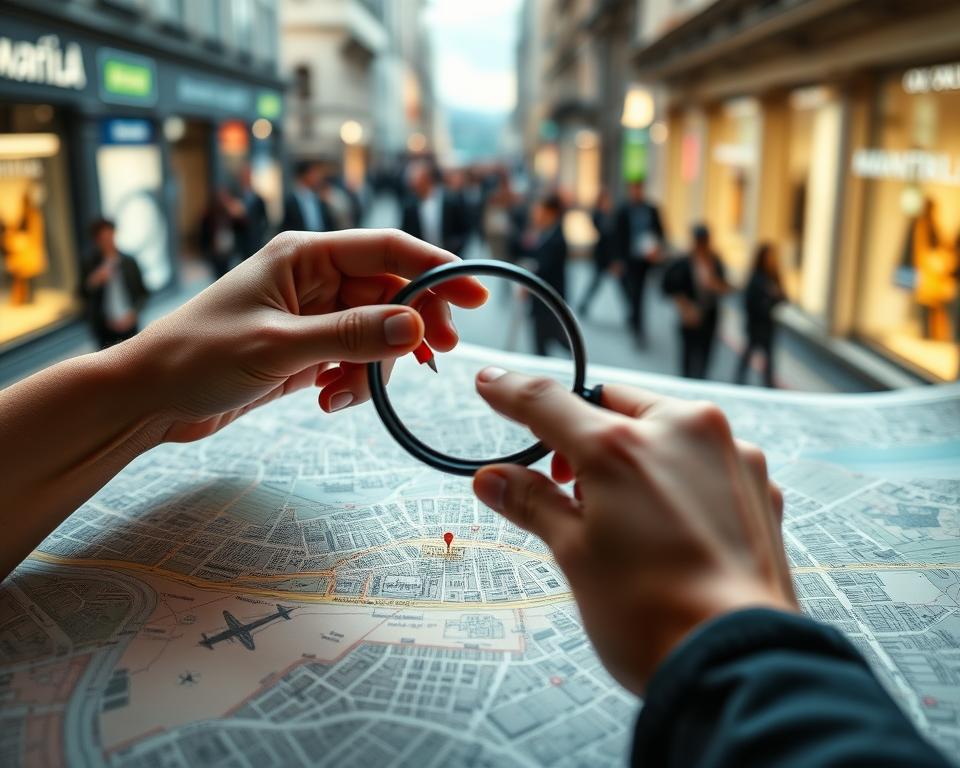
GPS-free navigation: smart preparation before setting out
Planning well before leaving reduces the risk of getting lost and makes it easier to return.
Build your mind map Reviewing rivers, ridges, shelters, and meeting points on a map. Trace the route with your finger to pinpoint key streets or trails.
Build your mind map and mark key points
Create a simple mind map: destination, reference bars, and three clear landmarks. Mark bridges, mountain passes, and power lines to avoid confusion.
Choose and draw a sketch if you don't have a map
If there's no map, draw a quick sketch with north and an approximate scale. Add three strong landmarks per section and a backup plan to avoid slopes or obstacles.
Stay calm: your hippocampus performs better
Breathe 4-4-4 when in doubt; lowering your activation improves observation. Look behind you every 10–15 minutes: your return view changes and helps you recognize the path.
Repeat the route with your finger and verbalize the landmarks; upon arrival, review and consolidate your memory.
- Checklist: water, whistle, headlamp, coat, mini first aid kit, map/compass.
- Define points of no return and a deadline for turning around.
- Agree on a meeting point and share the plan before leaving.
Use the Sun as your daily compass without technology
Sunlight provides direct clues for determining East, West, and the North-South axis. These techniques help you establish a bearing when you don't have electronic tools.
The stick and shadow method step by step
Stick a vertical stick in the ground and mark the tip of the shadow. Wait 15–20 minutes and mark the new tip.
The line between the two marks indicates the East-West axis (the first mark points to the West).
Draw a perpendicular line to obtain the North-South axis and confirm with another natural landmark.
Analog clock for finding South in the northern hemisphere
Point the hour hand towards the Sun. The bisector between the hour hand and the 12 on the clock points South.
It works best between 9:00 and 15:00; adjust if there is daylight saving time.
Accuracy and limitations: clouds, time of day, and season
On cloudy days, shadows are diffuse and accuracy decreases. Near dawn or dusk, the error increases.
Use firm ground for the pole and mark with stones. Always validate the direction with another indicator, such as terrain or wind.
- Advice: Practice these steps in safe areas before relying on them on the road.
Night navigation with moon and stars
When darkness falls, the stars and moon can guide your steps with precision. Learn simple methods that work with minimal equipment and practice them in safe areas before relying on them.

Locate the North Star using the Big Dipper
Identify the Big Dipper by its "bowl" and handle. Take the two stars on the outer edge of the bowl and project five times that distance toward the edge of the sky.
The bright star you find is Polaris; marks the north approximate. Its height above the horizon gives you a clue to your latitude.
Interpret the Moon to guide you
A waxing crescent moon "faces" west; a waning crescent moon points east. Draw the line between the illuminated ends and extend it toward the horizon to estimate south in the Northern Hemisphere.
Keep in mind that the Moon moves; use it as a support, not as your only reference.
Alternative in the southern hemisphere: the Southern Cross
Look for the Southern Cross: it is compact and cruciform. Extend its major axis four times towards the south celestial pole to find approximate south.
- Practical advice: Move away from lights and let your eyes adjust for 20–30 minutes.
- Draw the constellations in a notebook and check the bearing with a point on the ground.
- For more nighttime techniques, consult this practical guide: night navigation guide.
Checkperiodically aligning Polaris or the celestial south pole with a point on the ground to maintain direction during the march.
Terrain and vegetation as a natural compass
Many elements of the landscape act as a compass if you know what to look for. Observe moss, bark rings, and flowers to deduce the sun's path and the warmest sides of a tree.
Moss, growth rings, and heliotropic flowers
In the Northern Hemisphere, moss is usually denser on the north-facing sides of trees and rocks. Observe fallen logs: the side with the widest rings points south.
Note: Confirm the moss with another signal to avoid errors due to microclimates.
Snow, moisture and rocks: South and North slopes
The snow melts faster on south-facing slopes; rocks and tree trunks are usually drier there. Look for crusts and lichens: their distribution reflects the amount of sunlight.
Rivers, wind, and clouds to confirm your course
Follow rivers at a safe distance: they descend into valleys and often lead to roads or towns. Identify local winds (sea breeze or mountain-valley flow) and use clouds as wind arrows.
“Repeat checks by throwing a handful of sand or a drop of saliva: you’ll see which way they move and confirm if you’ve turned.”
- Always combine several natural signs before setting a course.
- Observe anthills and insect activity: they tend to prefer warmer sides.
- Keep your distance from ravines and validate using points on the terrain.
Modern tools without GPS that do help
Carrying reliable tools completely changes your safety on the road. Here you'll see how to combine paper, needle, and downloaded files so you're not solely reliant on the internet.
Printed topographic maps: scale, contours and legend
Choose hiking maps (e.g., 1:25,000) for a good balance between detail and overview.
Interpret the contour lines: close together they indicate steep slopes; closed contour lines usually mark peaks or depressions.
Consult the legend to identify trails, tracks, power lines, shelters, and UTM or lat/long coordinates.
Analog compasses and how to improvise one
It has a plate compass for plotting bearings; a mirror model improves accuracy.
Keep a button compass as a backup in your first-aid kit. If you lose it, magnetize a needle and place it on a leaf in water: it will point to the north-south axis.
Check the local magnetic declination before setting courses to avoid cumulative deviations.
Offline apps as a practical backup
Download offline maps using apps like Maps.me, OsmAnd, Locus Map before you leave. They work without a signal, but don't rely solely on them.
- Protects your maps in waterproof sleeves.
- Bring a pencil or marker to note down routes and key points.
- It works with coordinates to communicate your position if necessary.
Practical techniques with compass and map
Charting a clear course reduces uncertainty on the ground. Combining map and compass will give you confidence and fewer unnecessary turns.
Types of compasses and when to use them
For ultralight aircraft, carry a compass of button as an emergency. For trekking, use one of platewhich is versatile and easy to chart courses.
If you need accuracy on long bearings, choose one of mirrorIt allows for fine readings and accurate aiming.
How to chart and follow a reliable course
On the map, place the compass between your starting point and your destination. Rotate the compass dial until the N-S lines on the dial align with the meridians on the map.
Read the bearing angle and, in the field, align the needle with the lines on the dial. Walk following the direction arrow and fix visible reference points.
Combine map and compass for greater accuracy
Divide long routes into short segments and choose intermediate landmarks: rocks, passes, or trees. Recheck the angle after each reference point to avoid accumulated errors.
Read contour lines along the bearing to anticipate climbs and stream crossings.
Magnetic declination: what it is and how to adjust it
Magnetic declination is the difference between magnetic north and true north. Adjust the value on your compass if it has a correction feature.
If not, mentally compensate by adding or subtracting degrees from the bearing before walking.
“Practice taking and retracing courses: back bearing will safely return you to your starting point.”
- Advice: select the compass according to the activity.
- Align the edge of the base with the map meridians to orient it.
- Use intermediate references and divide the route to maintain accuracy.
Train your skills and stay safe
Train under the game Improve your ability to make quick decisions on the field. With short practice sessions, you'll turn theory into reflexes and reduce panic when something goes wrong.
Games and activities to practice
Organize simple exercises: line, route with checkpoints, treasure hunt and point race.
It includes a blind meeting to work on communication and trust in your references.
Time yourself and repeat: you'll improve your accuracy under pressure and learn to estimate real times.
Common mistakes and key tips
Don't rely on a single technique; combine two or more signals to validate your course.
Mark your progress with stones, branches, or discreet, biodegradable knots to prevent unintentional turns.
- If you get lost: Stop, hydrate, breathe, and return to the last safe point.
- Bring essential equipment: water, whistle, headlamp, knife and basic first aid kit.
- Change your usual routes and record your tracks on paper with times between milestones.
“Stopping to evaluate saves more than accelerating in doubt.”
Conclusion
Mastering natural tracks and classic tools gives you confidence in the face of the unexpected. Prepare, observe, and validate: this simple system reduces errors and keeps you safe on the route.
Solar and star techniques offer broad directions; the map and compass provide fine precision. Learn to read vegetation, terrain, and waterways as complementary signs.
Stay calm And practice regularly: your spatial memory improves and you make decisions faster. Alternate between practicing with and without technology, and use offline apps only as a backup.
Start close to home, gradually increase the difficulty, and make safety a habit: share your plan, set schedules, and carry basic equipment. This week, practice two new techniques in a familiar environment and refine your judgment.